Setting up
Setting up our React app with Apollo Client
To view this content, buy the book! 😃🙏
Or if you’ve already purchased.
Setting up
Section contents:
Build options
Background: server-side rendering
In the early days, setting up a new React app was plagued by complex Webpack and Babel configurations. There are now a number of tools for this, four of which we recommend: Create React App, Gatsby, Next.js, and Meteor.
Babel converts our modern JavaScript to old JavaScript so it will run in the browser or Node. Webpack bundles our JavaScript and other files together into a website.
Create React App
npm i -g create-react-app
create-react-app my-app
cd my-app/
npm start
Create React App (CRA)
is a tool that configures Webpack and Babel to good, common defaults. For
deployment, running npm run build gives us an index.html, our JavaScript
bundle (or multiple bundles if we’re code splitting), and imported static assets
like CSS, images, and fonts.
Gatsby
npm install -g gatsby-cli
gatsby new my-app
cd my-app/
gatsby develop
Gatsby is the best static site generator out there. But by “static site generator,” we don’t mean it generates HTML-only non-interactive sites. It generates pages that render the HTML & CSS UI immediately and run JavaScript to hydrate the page into a React app. It can’t generate logged-in content (like you can with SSR and cookies) because it’s not your production server—deploying is building HTML, JS, and CSS files and serving them as-is (statically). However, you can render logged-in content on the client.
Next.js
npm i -g create-next-app
create-next-app my-app
cd my-app/
npm run dev
Next.js is similar to CRA and Gatsby in that it takes care of Webpack/Babel for us, but it also does server-side rendering (SSR), routing, automatic page-level code splitting, dynamic importing, and hot code reloading. CRA and Gatsby are just your dev server and build tool, whereas Next.js, since it does SSR, is also your Node production server.
Next.js also has an export command that outputs HTML and JS that you can serve as static files (like Gatsby). The HTML is rendered once at the time that you run the export command, instead of in real time whenever a client requests the site.
Meteor
curl https://install.meteor.com/ | sh
git clone https://github.com/jamiter/meteor-starter-kit.git my-app
cd my-app/
npm install
meteor
Like Next.js, Meteor is a build tool and the production server. But, unlike Next.js and the other options, it does not use Webpack—it has its own advanced build system that is blissfully configuration-free. It does not have built-in SSR, since it is view layer agnostic (it can be used with any view library, like Vue, Svelte, Angular, etc.), but it does have other advanced features. It has dynamic (runtime) imports, and all dynamically imported modules are fetched quickly over a WebSocket and cached on the client (in IndexedDB). It also does differential bundling, reducing bundle size for modern browsers.
App structure
For our Guide app, we’ll use CRA, because it’s the most widely used and the most basic, straightforward option. Here’s our starter app:
git clone https://github.com/GraphQLGuide/guide.git
cd guide/
git checkout 0_1.0.0
npm install
Now we should be able to run CRA’s development server:
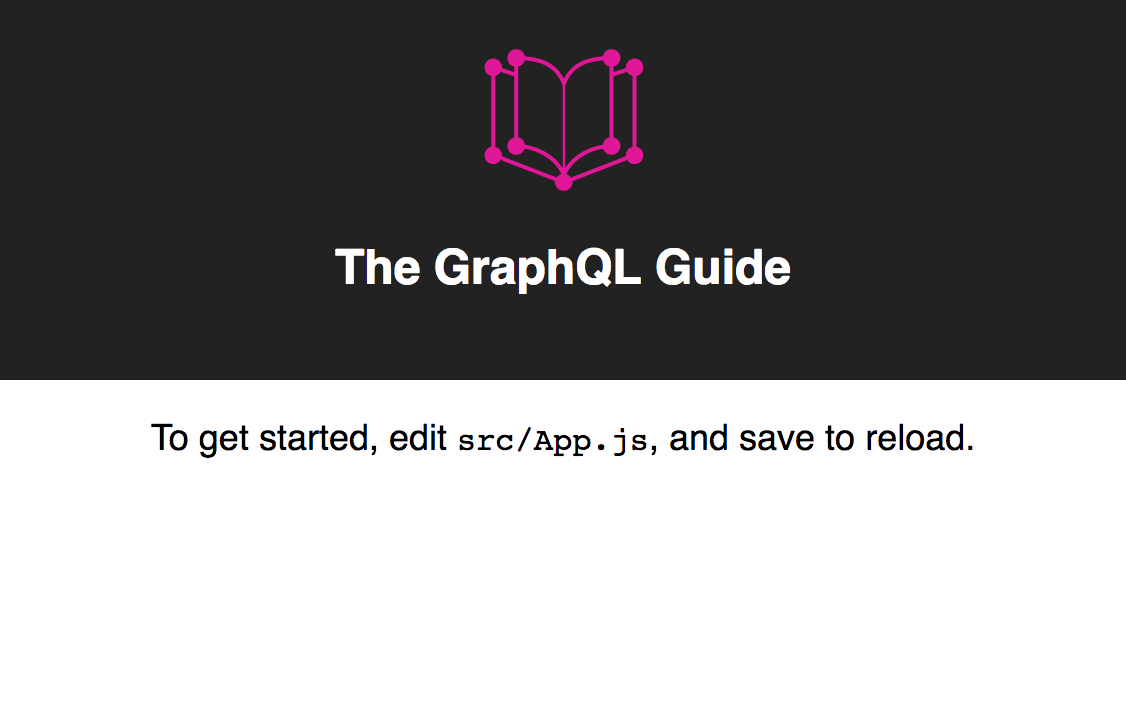
npm startAnd see our app at localhost:3000:

Our file structure is very similar to what we get when we run
create-react-app:
.
├── .eslintrc
├── .gitignore
├── package-lock.json
├── package.json
├── public
│   ├── favicon.ico
│   ├── index.html
│   └── manifest.json
└── src
    ├── components
    │   └── App.js
    │   └── App.test.js
    ├── index.css
    ├── index.js
    └── logo.svg
.eslintrc.js — The CRA dev server (npm start) outputs linter warnings (background on ESLint), but it’s
nice to see the warnings directly in our text editor, so we have an .eslintrc
file that uses the same rules as the dev server. Most editors’ ESLint plugins
will pick this up, including
eslint
for our recommended editor, VS Code.
package.json
{
  "name": "guide",
  "version": "0.2.0",
  "private": true,
  "dependencies": {
    "react": "16.13.1",
    "react-dom": "16.13.1",
    "react-scripts": "3.4.1",
    ...
  },
  "scripts": {
    "start": "react-scripts start",
    "build": "react-scripts build",
    "test": "react-scripts test",
    "eject": "react-scripts eject",
    ...
  },
  "browserslist": {
    "production": [
      ">0.2%",
      "not dead",
      "not op_mini all"
    ],
    "development": [
      "last 1 chrome version",
      "last 1 firefox version",
      "last 1 safari version"
    ]
  }
}
We have our normal react dependencies, react and react-dom, plus
react-scripts, which is what CRA lives inside, and which provides the
commands:
npm startstarts the dev servernpm run buildbundles the app for deploymentnpm testruns all the tests found in*.test.jsfilesnpm run ejecttakes us out of CRA (replacesreact-scriptsin our dependencies with a long list of other packages, adds ascripts/directory, and adds an 8-fileconfig/directory with Webpack, Babel, and testing configuration)
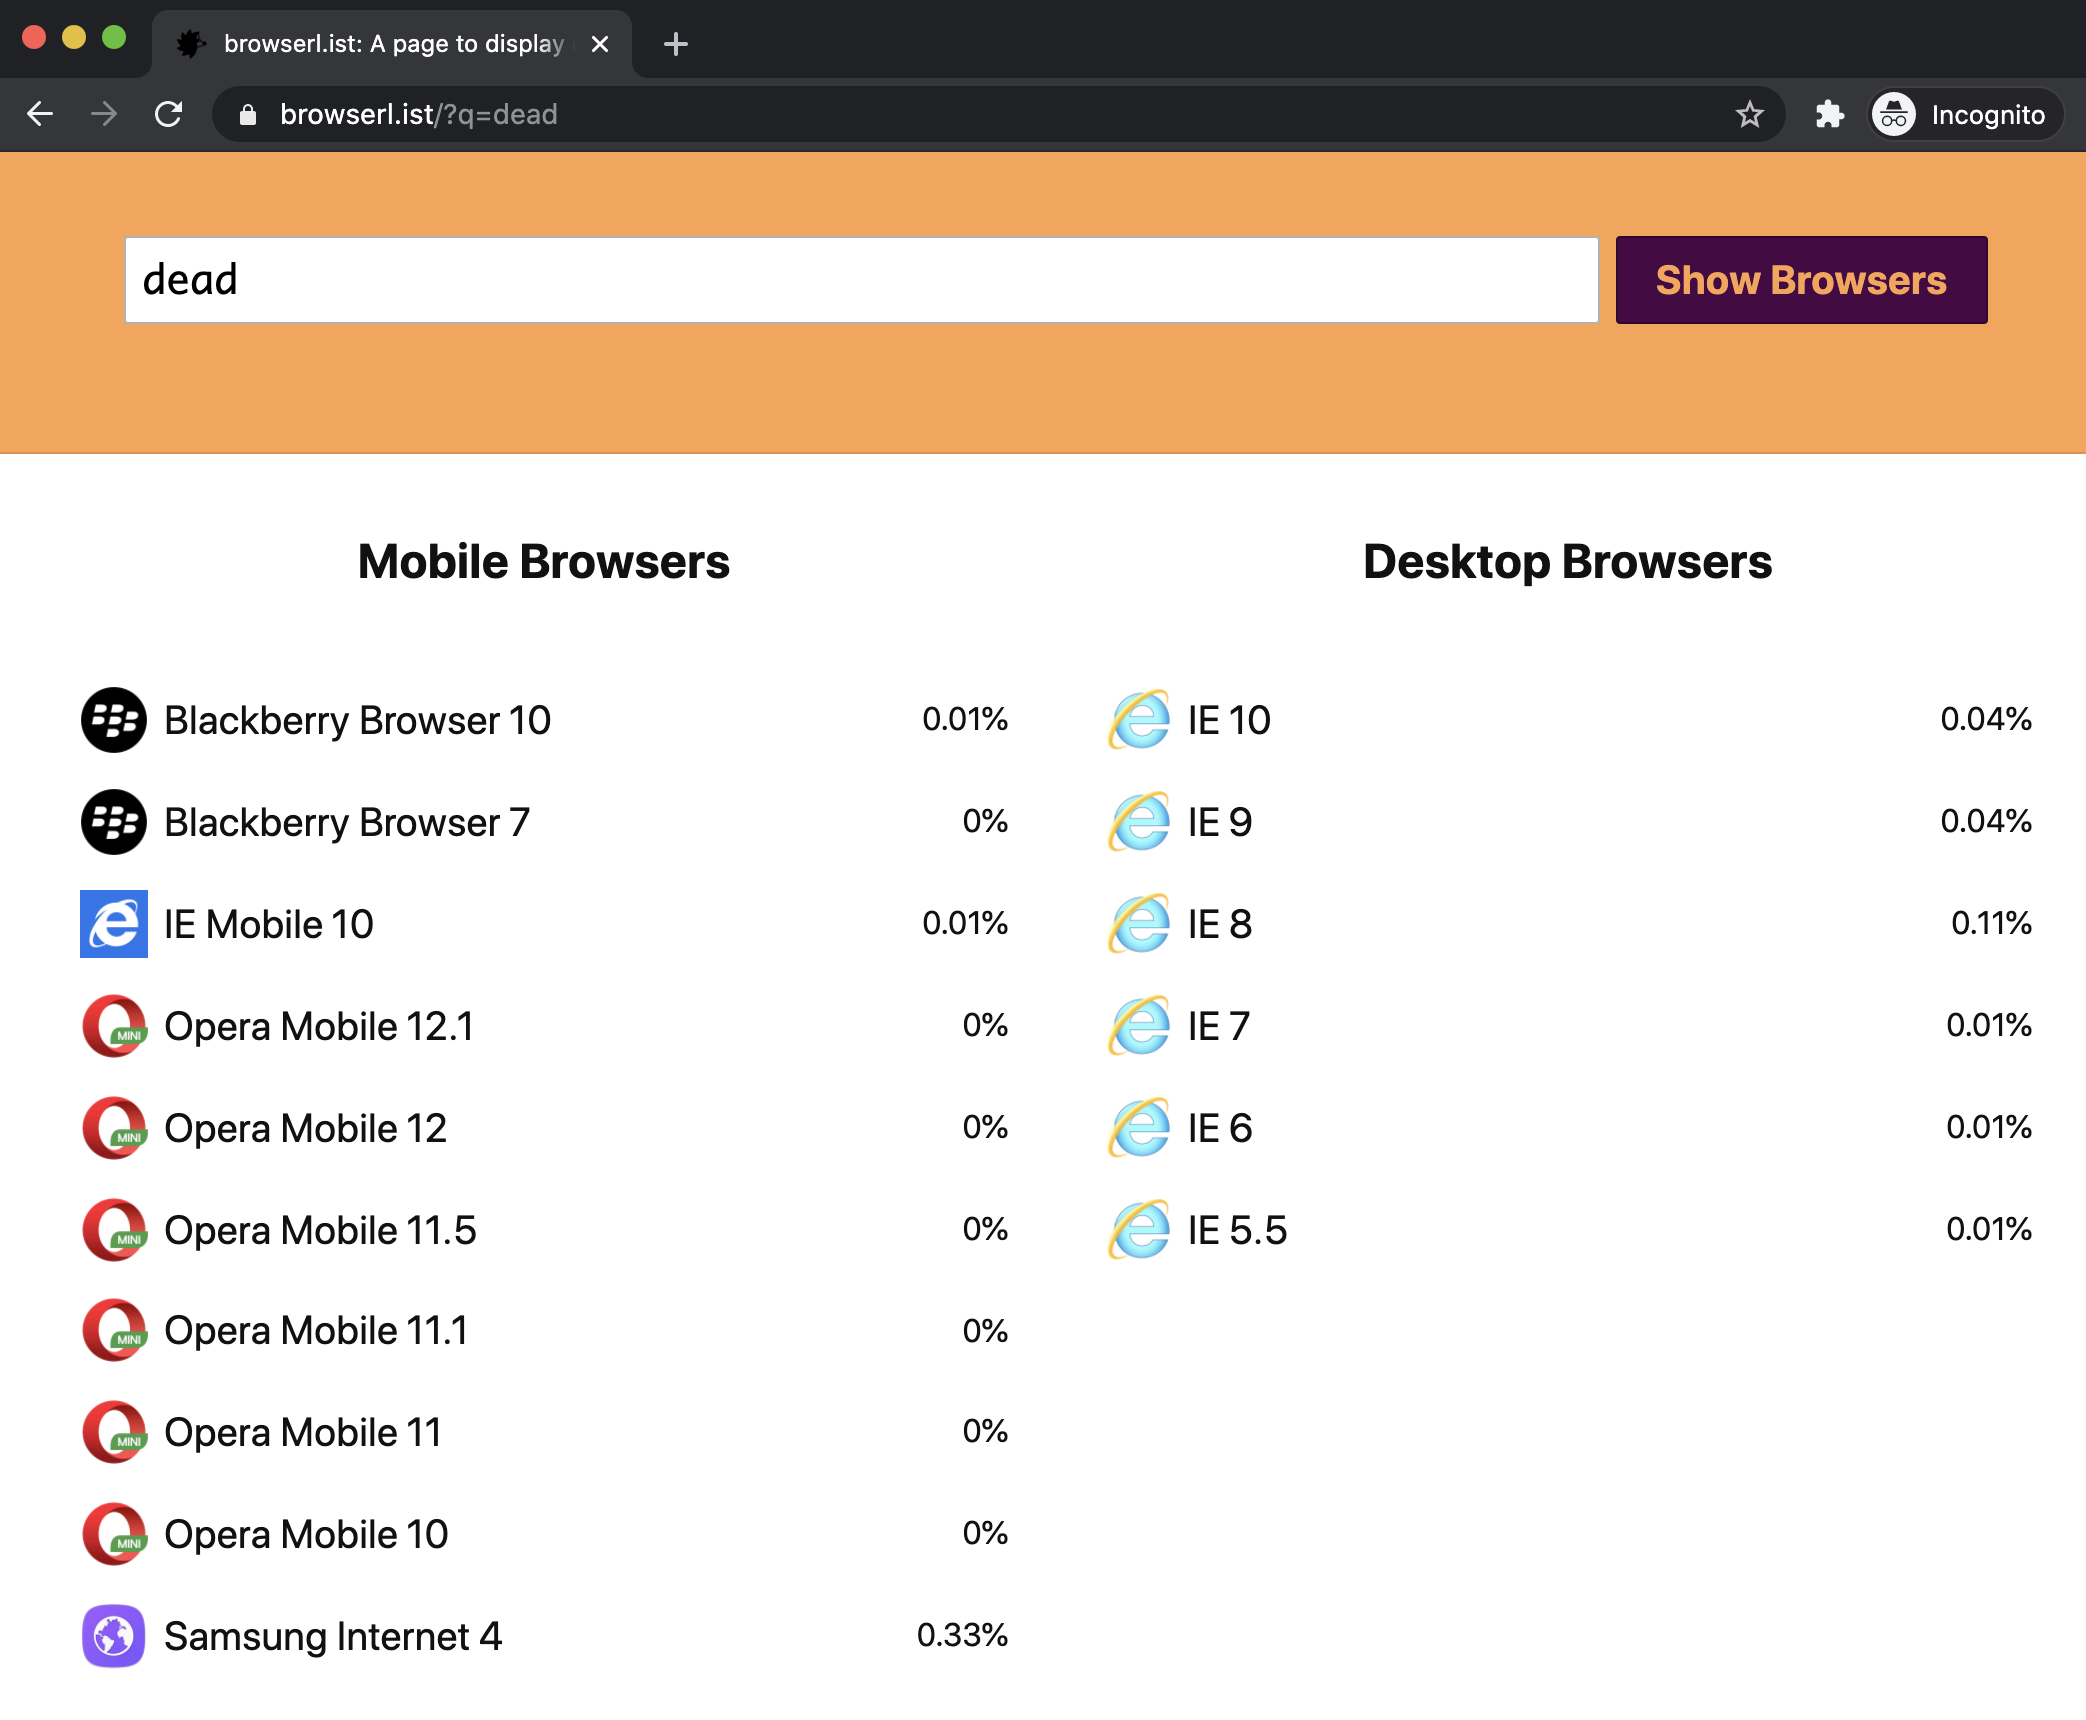
browserslist defines which browsers the generated site will support. We can use browserl.ist/ to interpret our browserlist strings:
- Supported browsers: >0.2%, not dead, not op_mini all
- Not supported: <=0.2%, dead, op_mini all
For instance, here is the dead list at time of writing:

In our public/ directory, we have a
favicon, manifest.json (which is used
when our app is added to an Android homescreen), and our only HTML page, public/index.html — our SPA shell, basically just:
<!doctype html>
<html lang="en">
  <head>
    <title>The GraphQL Guide</title>
  </head>
  <body>
    <div id="root"></div>
  </body>
</html>
We can add HTML, like meta tags to the head or a Google Analytics tracking
script to the bottom of the body. Our React JavaScript code gets added to the
body, and when it runs, it puts the app inside the root tag <div
id="root"></div>:
import React from 'react'
import { render } from 'react-dom'
import './index.css'
import App from './components/App'

render(<App />, document.getElementById('root'))

module.hot.accept()
Let’s look at some of the lines:
import './index.css' — CRA supports importing CSS from JavaScript. There are
many ways to do CSS with React, and we’ll be sticking with this single plain
.css file so that we can focus on the GraphQL parts of app-building.
render(<App />, document.getElementById('root')) — Our only component,
<App />, gets rendered into the #root div.
module.hot.accept() — This enables HMR (Hot Module Replacement), a Webpack feature that updates JavaScript when code is saved in development without reloading the page.
Here’s our App component:
import React from 'react'

import logo from '../logo.svg'

export default () => (
  <div className="App">
    <header className="App-header">
      <img src={logo} className="App-logo" alt="logo" />
      <h1 className="App-title">The GraphQL Guide</h1>
    </header>
    <p className="App-intro">
      To get started, edit <code>src/App.js</code>, and save to reload.
    </p>
  </div>
)
import logo from '../logo.svg' — CRA supports importing files, like images and
fonts. When we import a file, it gets included in the app bundle, and we get a
URL that we can use—for example, in a src attribute:
<img src={logo} className="App-logo" alt="logo" />We also have a test file:
import React from 'react'
import ReactDOM from 'react-dom'
import App from './App'

it('renders without crashing', () => {
  const div = document.createElement('div')
  render(<App />, div)
})
This and any other files ending in .test.js get run when we do npm test.
Set up Apollo
The best GraphQL library for React is
@apollo/client. It has all the features we
talked about in the Client Libraries section and more. Our package.json already has these packages, but normally we would install it and graphql with:
npm i -S @apollo/client graphqlNow we need to create an instance of ApolloClient and wrap our app JSX in a
component called <ApolloProvider>, which provides our client instance to all
descendants. So we go to src/index.js, where our <App /> component is
rendered, and replace the render() line with:
import {
  ApolloClient,
  ApolloProvider,
  InMemoryCache,
  HttpLink,
} from '@apollo/client'

const link = new HttpLink({
  uri: 'https://api.graphql.guide/graphql',
})

const cache = new InMemoryCache()

const client = new ApolloClient({ link, cache })

render(
  <ApolloProvider client={client}>
    <App />
  </ApolloProvider>,
  document.getElementById('root')
)
We highly recommend typing out the code instead of copy/pasting—you’ll learn it better! 🤔😏👊
We tell ApolloClient where to send queries by giving it a network link pointed
at our GraphQL server—in this case https://api.graphql.guide/graphql.