Adding a screen
To view this content, buy the book! 😃🙏
Or if you’ve already purchased.
Adding a screen
If you’re jumping in here,
git checkout 1_1.0.0(tag 1_1.0.0, or compare 1...2)
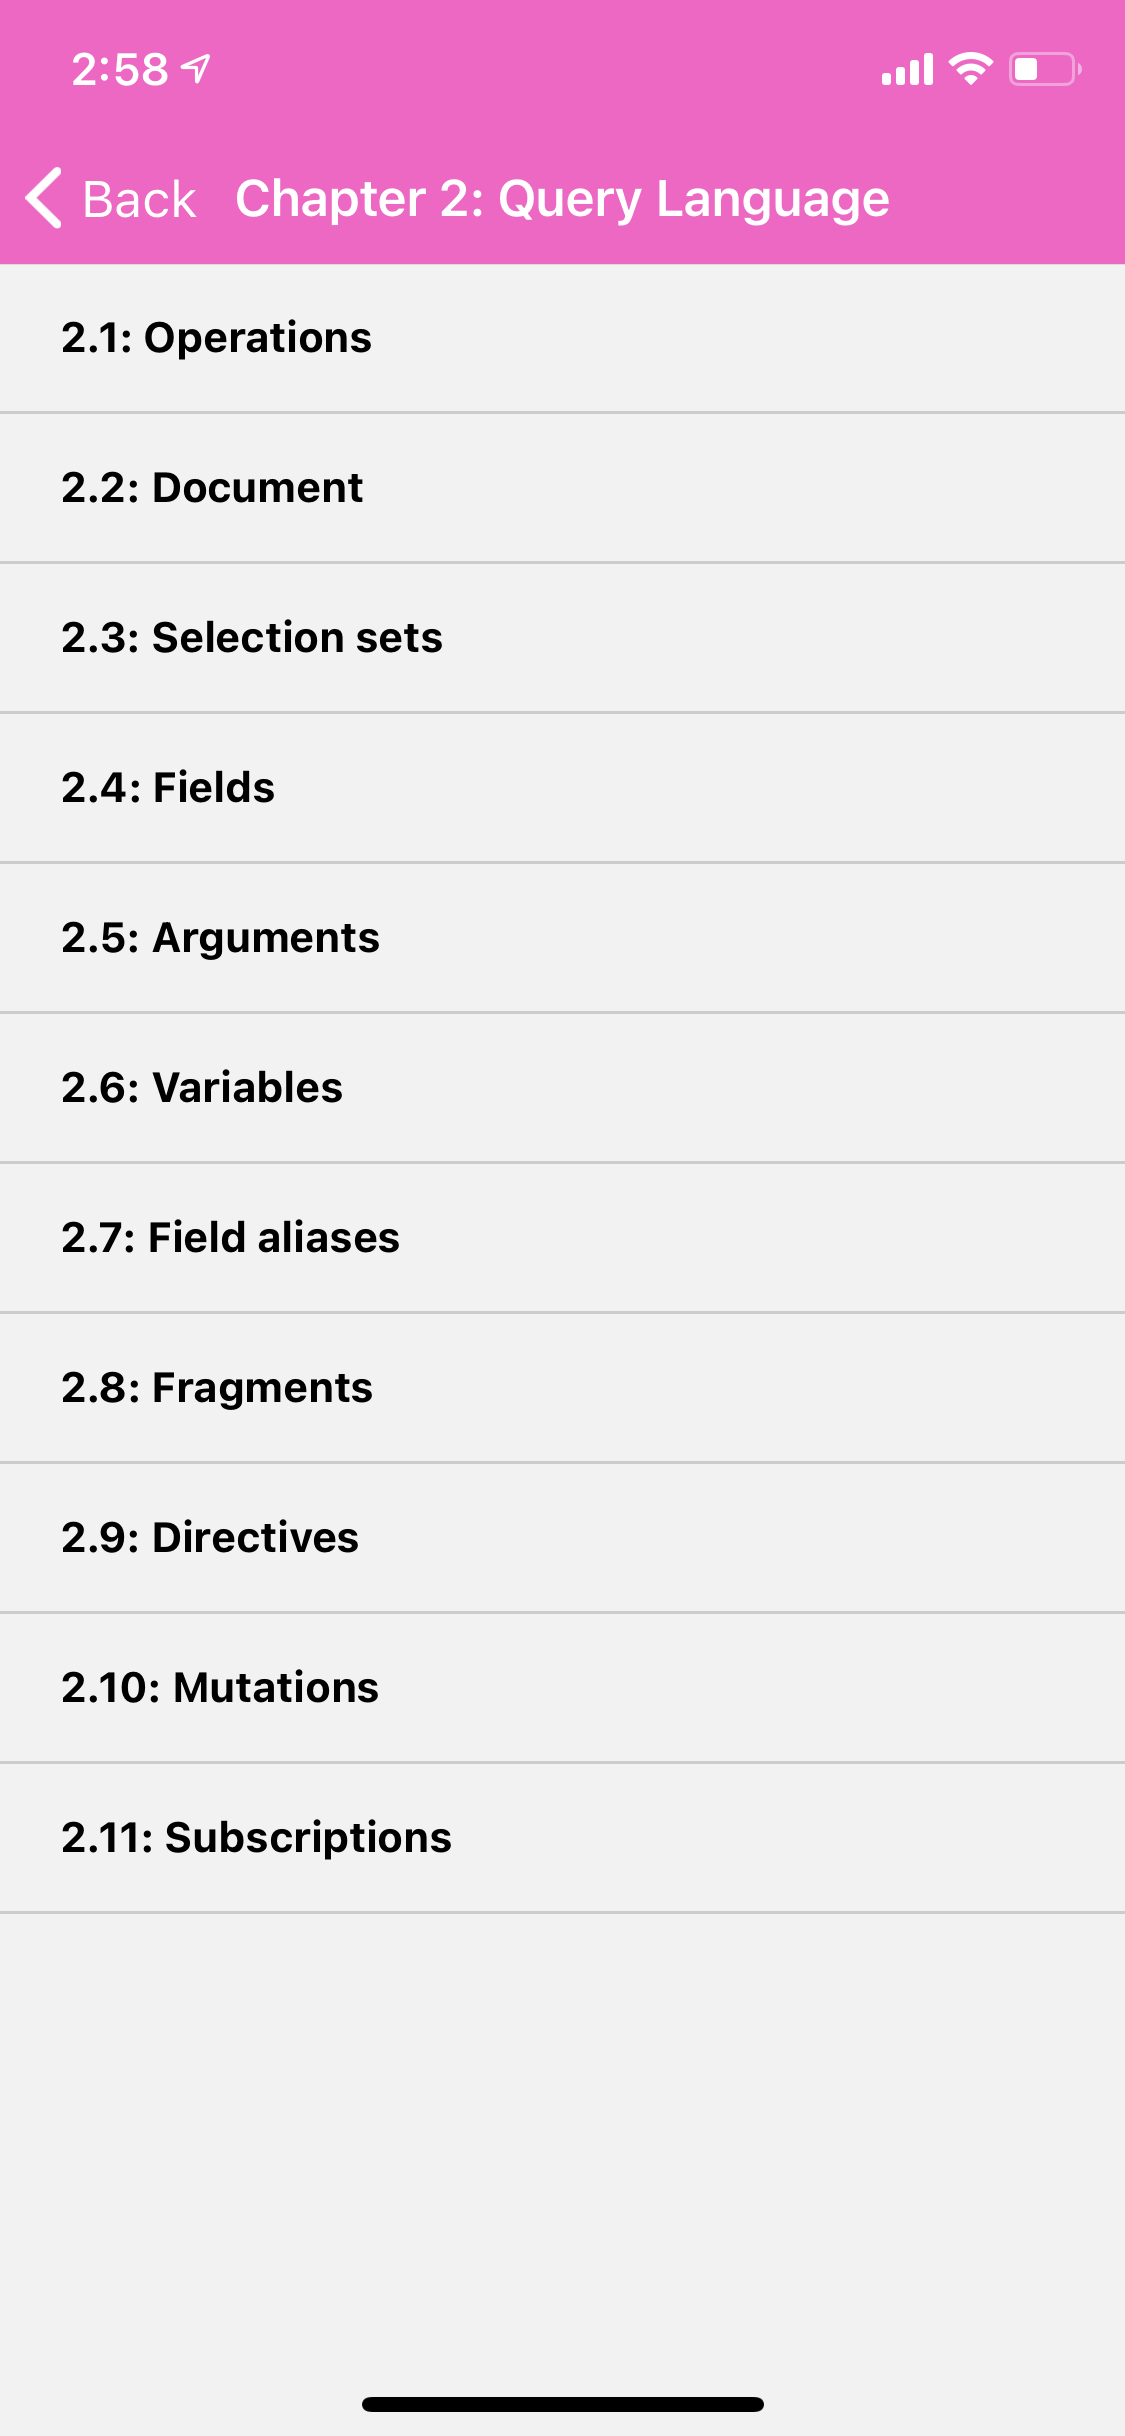
When the user taps a chapter, let’s take them to a new screen that shows a list of sections. While we could edit CHAPTERS_QUERY to select chapters.sections and pass the list of sections to the next screen, let’s instead pass just the chapter info and have the next screen make a separate query for the sections.
To start, we add another screen—ChapterScreen—to the navigation:
import ChapterScreen from './src/ChapterScreen'

export default function App() {
  return (
    <ApolloProvider client={client}>
      <NavigationContainer>
        <Stack.Navigator initialRouteName="Home" screenOptions={screenOptions}>
          <Stack.Screen
            name="Home"
            component={HomeScreen}
            options={{ title: '📖 The GraphQL Guide' }}
          />
          <Stack.Screen
            name="Chapter"
            component={ChapterScreen}
            options={({
              route: {
                params: {
                  chapter: { number, title },
                },
              },
            }) => ({
              title: number ? `Chapter ${number}: ${title}` : title,
            })}
          />
        </Stack.Navigator>
        <StatusBar style="light" />
      </NavigationContainer>
    </ApolloProvider>
  )
}
If the chapter has a number, we include “Chapter N: ” in the title. The options function assumes that when we navigate to the "Chapter" screen, we pass a chapter param. Let’s do that:
const ChapterItem = ({ chapter, onPress }) => {
  ...

  return (
    <Pressable style={styles.item} onPress={onPress}>
      <Text style={styles.header}>{header}</Text>
      {subheader && <Text style={styles.subheader}>{subheader}</Text>}
    </Pressable>
  )
}

export default ({ navigation }) => {
  ...

  return (
    <FlatList
      data={data.chapters}
      renderItem={({ item }) => (
        <ChapterItem
          chapter={item}
          onPress={() => navigation.navigate('Chapter', { chapter: item })}
        />
      )}
      keyExtractor={(chapter) => chapter.id.toString()}
    />
  )
}
Each screen gets a navigation prop provided by react-navigation. When a chapter is pressed, we call navigation.navigate(), passing the chapter object as a param.
Now for the ChapterScreen:
import React from 'react'
import { View, Text, FlatList } from 'react-native'
import { gql, useQuery } from '@apollo/client'

import styles from './styles'
import Loading from './Loading'

const SECTIONS_QUERY = gql`
  query Sections($id: Int!) {
    chapter(id: $id) {
      sections {
        number
        title
      }
    }
  }
`

const SectionItem = ({ section, chapter }) => (
  <View style={styles.item}>
    <Text style={styles.header}>
      {chapter.number}.{section.number}: {section.title}
    </Text>
  </View>
)

export default ({ route }) => {
  const { data, loading } = useQuery(SECTIONS_QUERY, {
    variables: { id: route.params.chapter.id },
  })

  if (loading) {
    return <Loading />
  }

  const {
    chapter: { sections },
  } = data

  if (sections.length === 1) {
    return (
      <View style={styles.centered}>
        <Text>No sections</Text>
      </View>
    )
  }

  return (
    <FlatList
      data={sections}
      renderItem={({ item }) => (
        <SectionItem section={item} chapter={route.params.chapter} />
      )}
      keyExtractor={(section) => section.number.toString()}
      initialNumToRender={15}
    />
  )
}
Each screen gets a route prop that contains the params. Now we can go back and forth between the home screen and individual chapter screens:

One further change we can make that is often a UX improvement is keeping the splash screen up until the home screen’s data is ready, so the user doesn’t see a flash of empty-page-with-spinner. We can do this by replacing our <Loading> component with Expo’s <AppLoading>:
import { AppLoading } from 'expo'

export default ({ navigation }) => {
  const { data, loading } = useQuery(CHAPTERS_QUERY)

  if (loading) {
    return <AppLoading />
  }

  ...
Now the user should be taken straight from seeing this:

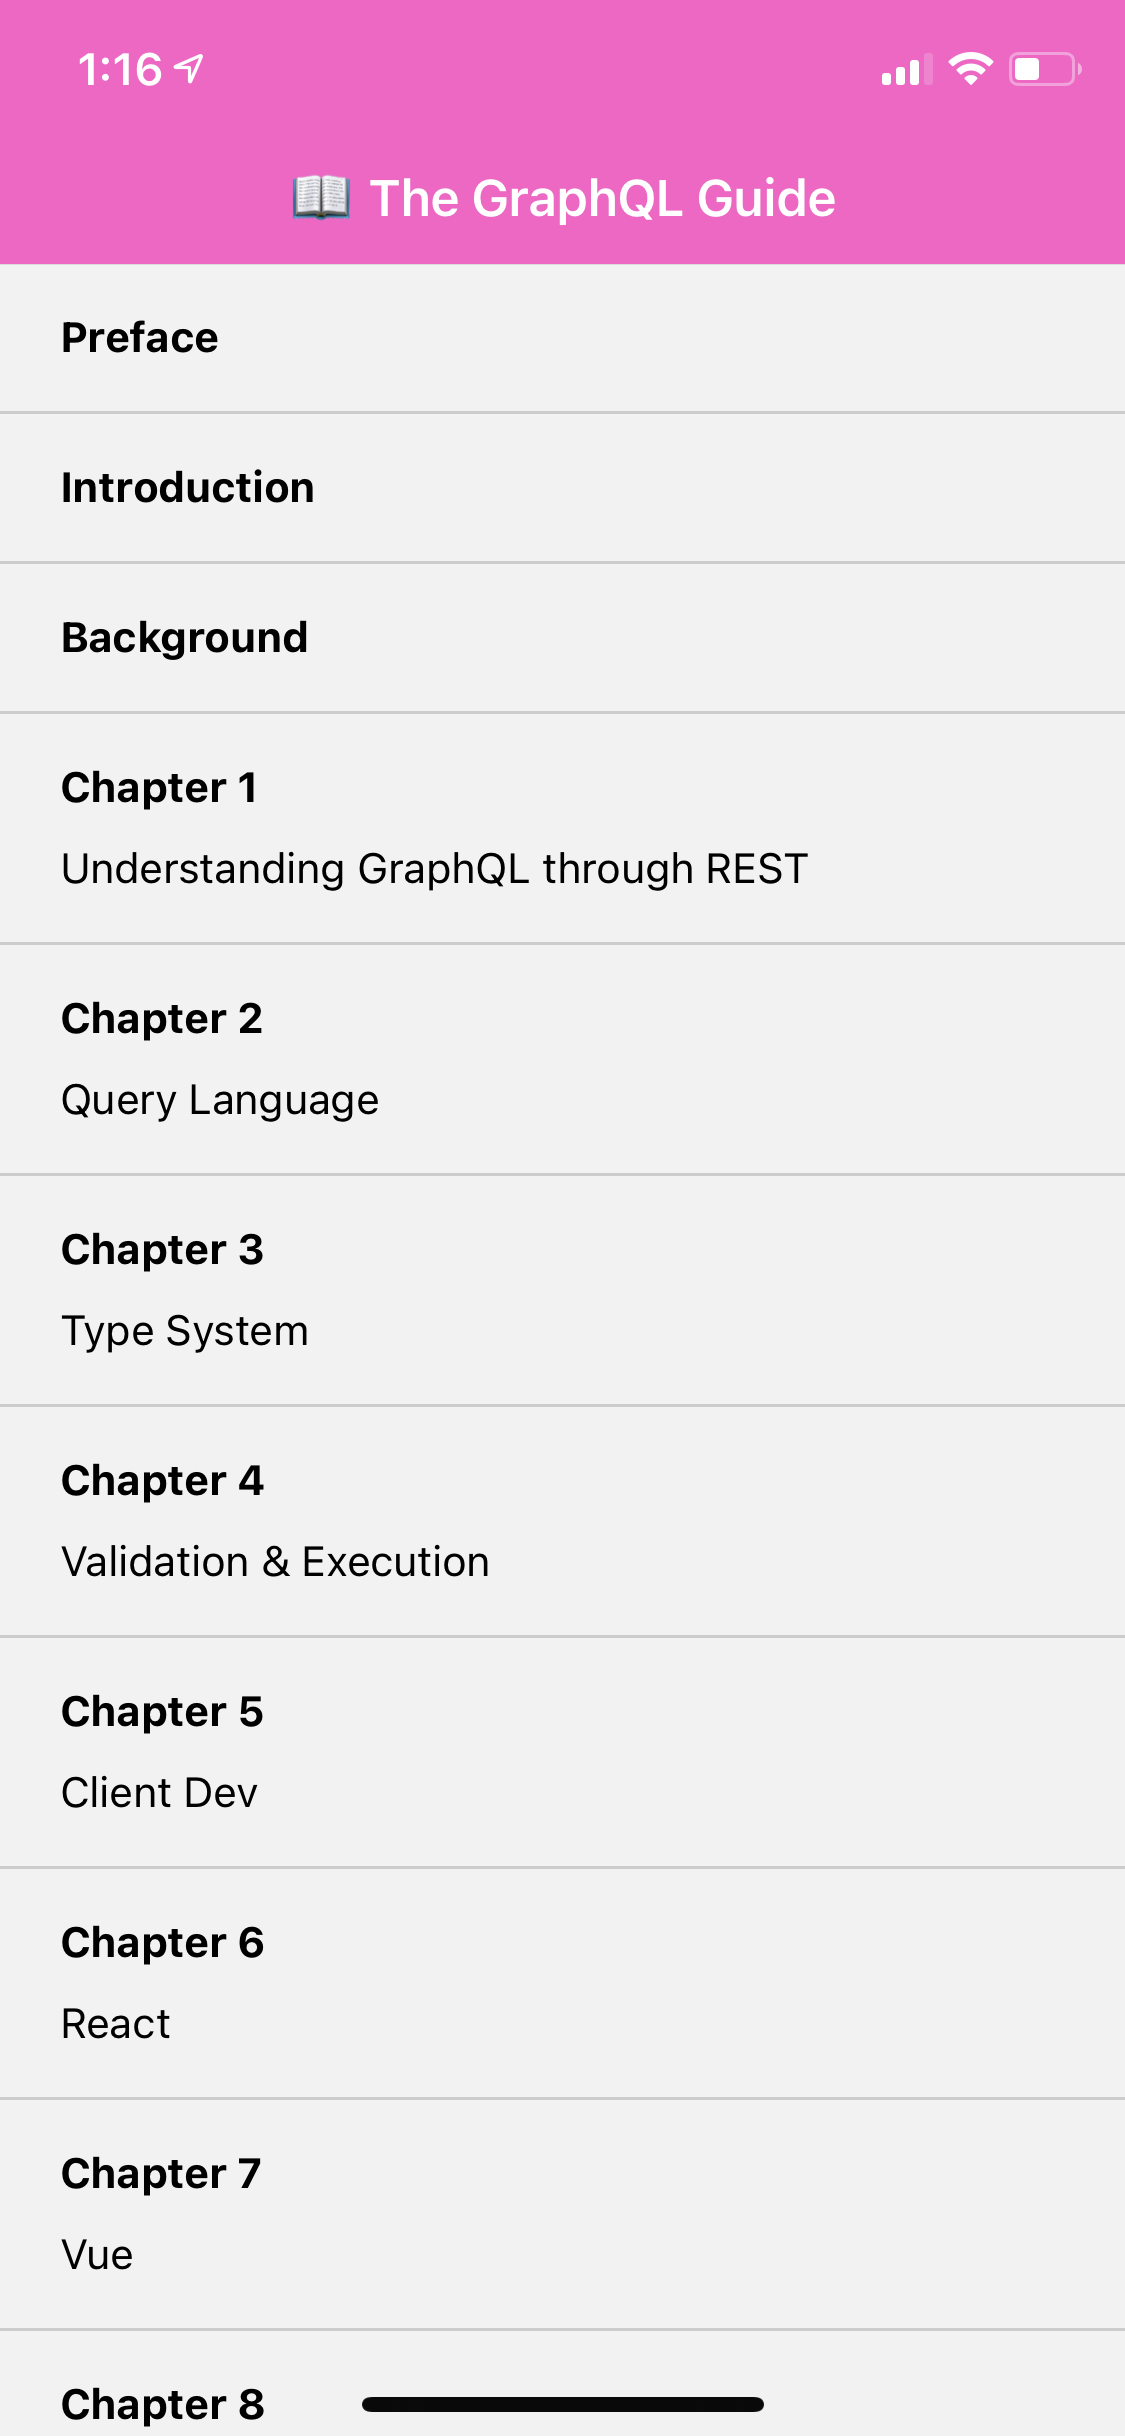
to seeing this:
